Create Branch
Learn how to add new branches to DooUMS to organize your operations across multiple locations and manage regional activities effectively.
Overview
Branch creation in DooUMS allows administrators to establish multiple office locations or operational centers within the system. Each branch can have its own team members, operations, and reporting structure while maintaining centralized oversight and management.
Prerequisites
Before creating branches:
- You must have Admin role privileges
- Determine the branch location and operational scope
- Have the branch's contact information ready
- Understand your organization's branch structure and hierarchy
Plan your branch structure carefully to align with your organization's operational model. Consider geographical distribution, operational capacity, and management hierarchy when creating branches.
Creating a New Branch
Step 1: Access Branch Management
- Log in to DooUMS with your admin credentials
- Navigate to Administration from the main menu
- Select Branches
- Click the Add Branch button
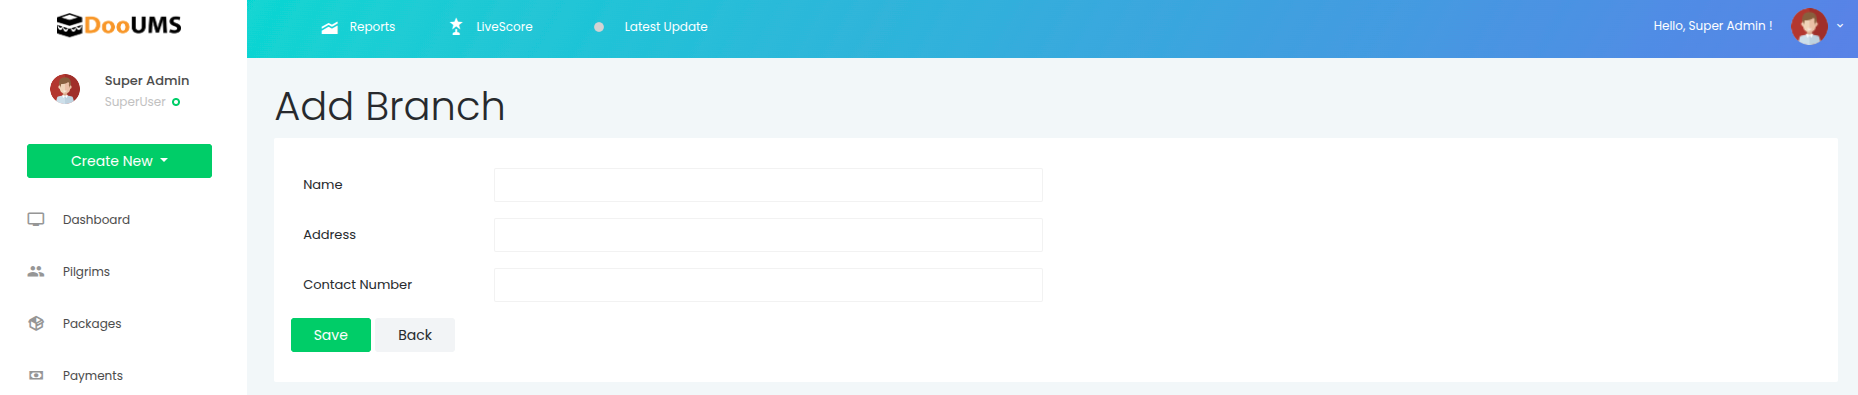
Step 2: Fill in Branch Details
Complete the branch creation form with the following information:
Branch Information
-
Name: Enter the branch name or location identifier
- Use clear, descriptive names (e.g., "HQ KAJANG", "KUALA LUMPUR BRANCH", "JOHOR BAHRU OFFICE")
- Keep naming consistent across all branches
- Consider including location or region in the name
-
Address: Provide the complete branch address
- Include street address, city, state, and postal code
- Ensure address is accurate for official correspondence
- Use full address format for clarity
-
Contact Number: Enter the branch's primary contact number
- Use format: +60-XX-XXX-XXXX or similar
- Ensure number is active and monitored
- This will be used for customer inquiries and internal communication
Step 3: Review and Save
- Review all entered information for accuracy
- Verify the branch name follows your naming conventions
- Double-check the address and contact details
- Click Save to create the branch
- Click Back if you need to cancel and return to the branch list
After saving:
- The branch is created and available for user assignment
- Users can now be assigned to this branch during user creation or editing
- The branch appears in branch selection dropdowns throughout the system
- Operations and reports can be filtered by this branch
Branch Creation Examples
Example 1: Headquarters Branch
Scenario: Creating the main headquarters branch
Name: HQ KAJANG
Address: Lot 123, Jalan Raya, Taman Teknologi, 43000 Kajang, Selangor
Contact Number: +60-3-8888-9999
Result: Headquarters branch established for central operations and admin team.
Example 2: Regional Office
Scenario: Opening a new regional office in Kuala Lumpur
Name: KUALA LUMPUR BRANCH
Address: Unit 5-2, Menara ABC, Jalan Sultan Ismail, 50250 Kuala Lumpur
Contact Number: +60-3-2222-3333
Result: Regional branch created for KL operations with dedicated team assignment.
Example 3: State Branch
Scenario: Establishing presence in southern region
Name: JOHOR BAHRU OFFICE
Address: No. 88, Jalan Skudai, Taman Sentosa, 80150 Johor Bahru, Johor
Contact Number: +60-7-555-6666
Result: State-level branch for southern region operations and customer service.
Post-Creation Tasks
After creating a branch:
1. Verify Branch Creation
- Confirm branch appears in the branch list
- Verify all contact details are correct
- Check that branch name displays properly in dropdowns
2. Assign Users
- Assign existing users to the new branch
- Create new user accounts for branch staff
- Ensure each branch has appropriate staffing levels
- See Create Users for user assignment details
3. Configure Operations
- Set up branch-specific settings if applicable
- Configure reporting and analytics for the branch
- Establish communication channels with headquarters
4. Documentation
- Update organizational charts with new branch
- Document branch operational procedures
- Add branch to internal directory and contact lists
- Communicate branch creation to relevant teams
Common Scenarios
Branch Consolidation
When merging or closing branches:
- Reassign users to other active branches
- Transfer active operations to destination branch
- Complete all pending transactions
- Archive branch records as needed
- Update branch status in the system
Temporary Branch Locations
For seasonal or temporary offices:
- Create branch with clear temporary designation in name
- Assign temporary staff to the branch
- Monitor operations during active period
- Reassign staff when temporary period ends
- Keep branch record for historical tracking
Branch Restructuring
To modify branch structure:
- Navigate to Administration → Branches
- Find and select the branch
- Click Edit to modify details
- Update name, address, or contact number
- Click Save to apply changes
Modifying branch details may affect reports and historical records. Communicate changes to all relevant staff before making updates.
Branch Management Best Practices
Naming Conventions
- Use consistent naming format across all branches
- Include location identifier for easy recognition
- Consider using codes or abbreviations for brevity
- Avoid special characters that may cause system issues
Contact Management
- Keep contact numbers current and monitored
- Provide backup contact information if available
- Update contact details immediately when changes occur
- Test contact numbers periodically
Organizational Structure
- Align branches with business strategy
- Balance geographical coverage with operational efficiency
- Consider customer distribution when planning branches
- Review branch performance regularly
Data Accuracy
- Maintain accurate address information
- Update branch details when relocating
- Keep contact information current
- Verify all details during regular audits
Reporting and Analytics
Branches enable powerful organizational reporting:
- Performance by Branch: Track operational metrics per location
- Regional Analytics: Compare branch performance across regions
- Resource Allocation: Monitor staffing and resource distribution
- Customer Distribution: Analyze customer base by branch location
Troubleshooting
Branch Not Appearing in Dropdown
Problem: New branch doesn't show in selection menus
Solutions:
- Refresh the page or clear browser cache
- Verify branch was saved successfully
- Check if there are any system errors
- Log out and log back in
Cannot Assign Users to Branch
Problem: Branch not available during user creation
Solutions:
- Verify branch creation completed successfully
- Check if you have admin permissions
- Ensure branch list is loading properly
- Contact system administrator if issue persists
Duplicate Branch Names
Problem: Attempting to create branch with existing name
Solutions:
- Use unique, descriptive names for each branch
- Add location or identifier to differentiate
- Check existing branch list before creation
- Follow organizational naming conventions
Related Documentation
- Create Users - Learn how to assign users to branches
- User Roles and Permissions - Understand role-based access per branch
- Settings Overview - General system configuration and settings
Need Help?
If you encounter issues or need assistance with branch creation:
- Review this documentation thoroughly
- Check the troubleshooting section above
- Contact Dabudoo Technology support team
- Visit the support portal for additional resources
Admin Access Required | All Fields Mandatory | Unique Branch Names | Available Immediately After Creation